With the Scat’s oil pan out of the way (check out our blog Scat V4 Bling), we shifted focus back on exhaust. There is no question here we are breaking all the rules for exhaust design. When fabricating any exhaust, it is always recommended that you consult your engine builder for precise dimensions on tube sizes and lengths, all of which are critical for proper engine tuning. We didn’t ignore that rule up front and in working with our engine builder, Powerhouse Motorsports, we came up with an exhaust design that starts with four 1-7/8” ID tubes that are exactly 31” long before entering a 4 in 1 collector that ends with a single 3” OD tube. Theory is great, and we certainly don’t deny the important science behind engine tuning. Problem here is there is simply no room within the small & compact design of the Rock Bug to make this exhaust design work. So, our exhaust tube starts with four 1-7/8” OD tubes with varied lengths, leads into two 2-1/2” OD tubes with varied lengths, and ends with a single 3” OD tube. The science behind this final layout is simple, we fit what we could fit :-). We finished it off with Tracy’s recommendation for a Coast Fabrication muffler, which carries and impressive weight of 3.31 lbs.
We also had a chance to install the front King quadruple bypass shocks. Don’t read too much into the shock mounting hardware, the Grade 8 bolts here are only temporary and will be replaced soon. The final plan today was to pull the Scat out of the Rock Bug and build a small crate for shipping it to the engine builder. However, it is so cold in Colorado today that we will hold on this one until tomorrow.


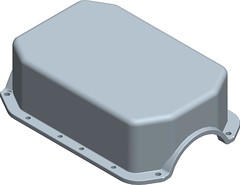
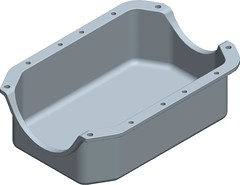
The Scat V4 continued getting our undivided attention this week. Starting from last Sunday, we finished up the last pieces of the engine plate accessories and quickly switched focus to the oil pan. We were faced with a choice of modifying the existing hacked up oil pan or making a custom oil pan completely from scratch. Modifying the oil pan is necessary because, due to the Rock Bug’s very tight clearances, we need to run the exhaust underneath it. Since we are running a dry sump, we do have the option of running a lower profile oil pan which would greatly help with the exhaust layout. Yes we know the clock is ticking, but this one seemed too fun to pass up. Therefore, first thing on Monday we started designing the Rock Bug’s Scat V4 custom billet oil pan.
For you Chevy fans out there, the shape of this oil pan may look somewhat familiar. A Scat V4 is built from the same platform of a Chevy 350. Without getting into too much detail here, the center 4 cylinders from the Chevy 350 design are removed, making the platform for this custom Scat V4 engine. So the oil pan has a similar shape from the 350 but the overall length is quite a bit shorter.
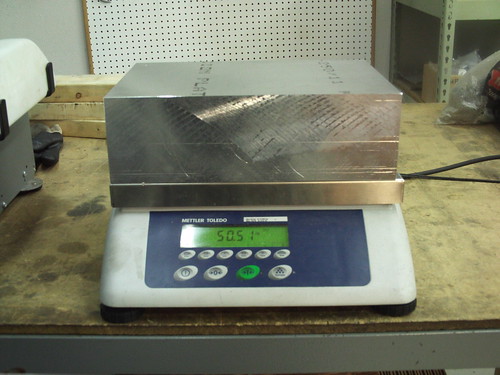
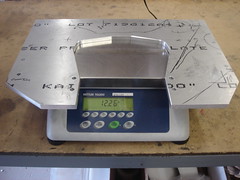
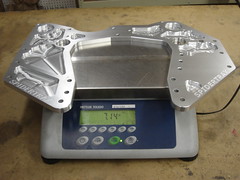
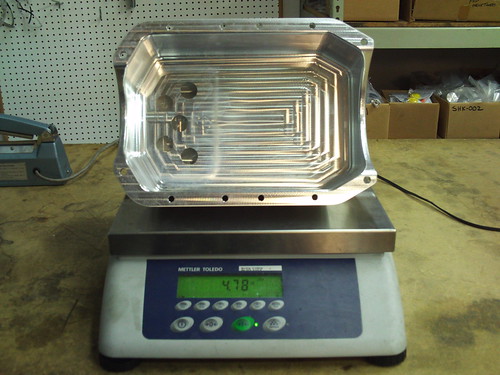
The Scat’s oil pan will be machined from a solid block of 6061T6 aluminum. This raw block of 6061T6 weighed in at 50.51 lbs. With a finished machined weight targeted under 5 lbs, there is no question here we will be making a lot of chips! Let the machining begin.
We had about 3 hours into machining and welding and are happy to say the end result was well worth it. On the first try, the Rock Bug’s Scat V4 engine is now the proud owner of a custom billet aluminum oil pan.
This weekend, we will continue work on the exhaust, staying right on target with having the Scat V4 ready to ship early next week to the engine builder. Until next time, thanks for checking in.


We’ve had a busy week in the shop, not with the Rock Bug but with shipping orders. We have managed to sneak in a little time here and there though, continuing the layout work necessary for the Scat engine plate. Finally, we had an opportunity to wrap this one up today, so we took to it.
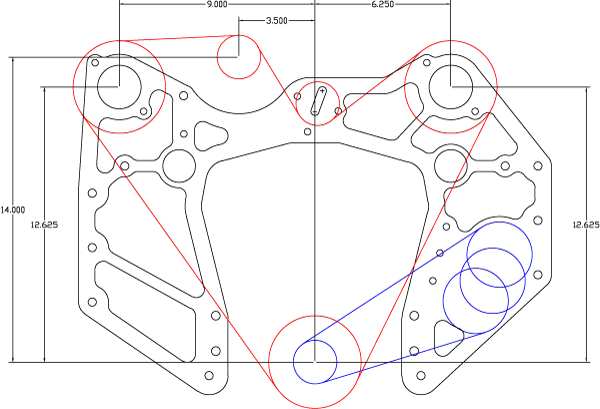
Starting from last Sunday, we continued with the engine plate layout and came up with the following configuration. The beauty of an engine plate is having the flexibility to put engine accessories where they fit best.
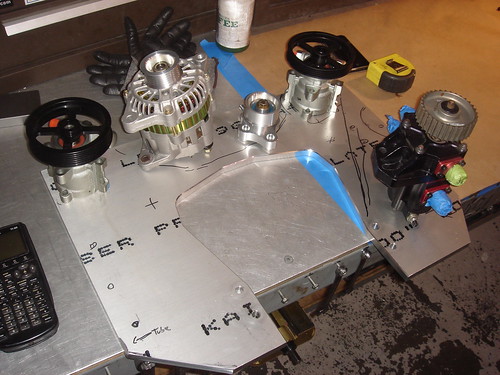
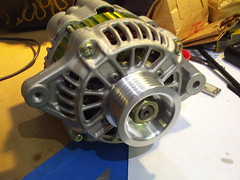
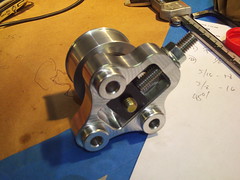
To conserve on space, we’re running a compact Suzuki Sidekick alternator. The OEM pulley did not match up with the rest of the Scat’s accessories, so we machined a custom 6 groove aluminum version to fit. In addition, a quick trip to the local Car Quest did not turn up anything exciting for a belt tensioner. So, we made that too.
After triple checking everything possible, we fixtured the engine plate and started machining.
When everything was said and done, we ended up with a pretty cool engine plate that weighed 5 lbs less then when we started. Not a bad way to wrap up the day. The next few days will focus on mounting the accessories to the engine plate, which will require a custom bracket here and there, as well as securing the engine plate to the chassis. Thanks for checking in and we’ll see you next time.
